The long-awaited bearings arrive, our wiring gets slightly messier, and we run into our first problem while testing.
General Updates
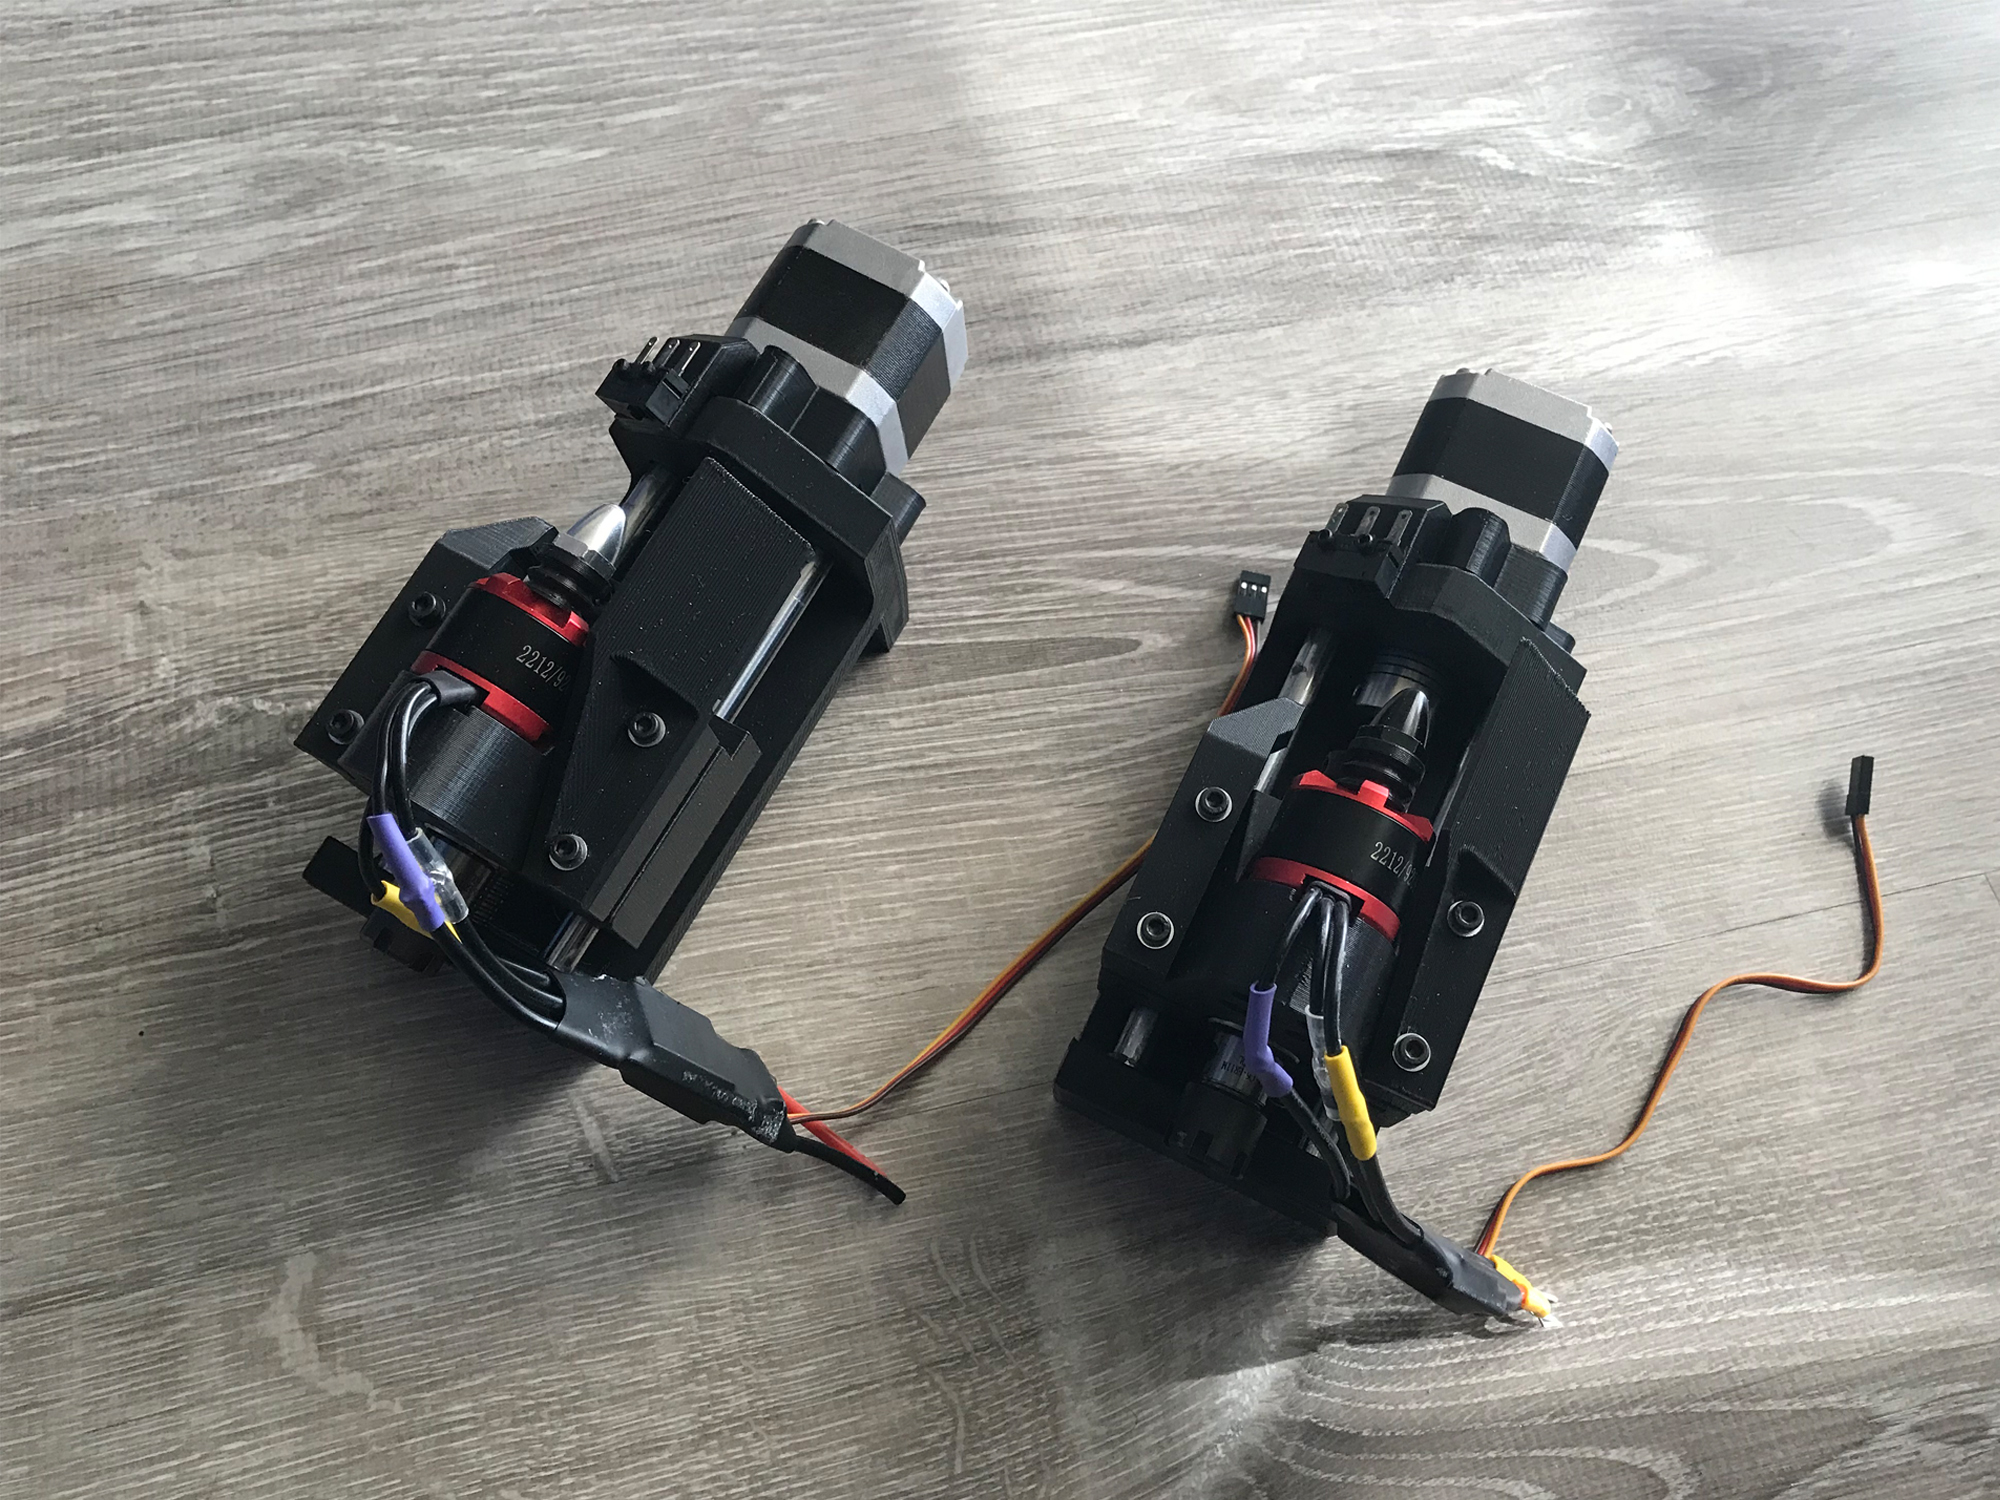
After a long wait and some hiccups, we’ve finally received the bearings for the remaining two milling/drilling heads! Better yet, the bearings are the right size and quantity.
This past week, we also had our second meeting with our supervisors, where we presented our current progress and our plan for preparing for final demonstration.
Mechanical Updates
Last week, we finished up the first milling/drilling head and started take a look at dust management. This week is more of the same: with the bearings in our possession, we built the remaining two milling heads, and we continued designing our own suction fan.
We also discovered during testing that our wire cutter was starting to dull, leading to poor cuts, and we addressed that as soon as it came up.
Milling Heads
The remaining two milling/drilling heads are functionally identical to the first, although they have some improvements based on the first milling head. Most noticeably, the limit switch contact arm is now removeable, so we can adjust the z-home position of the head as necessary (and as a bonus, we get a higher quality 3D-print by separating the contact arm into a new component). There were also some quality-of-life changes, such as a cutout for the spindle motor’s wiring.

The remaining milling head assemblies.
Dust Management
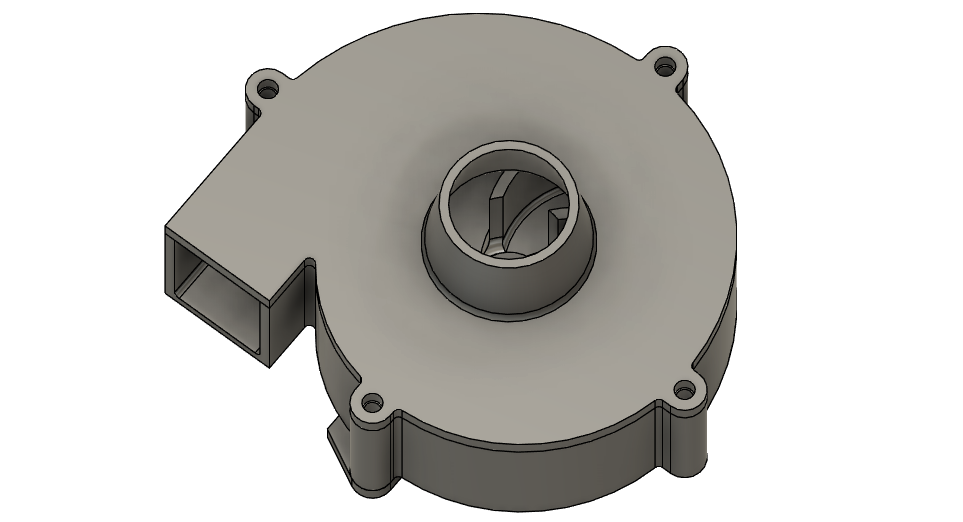
As discussed last week, we’re currentling exploring designing our own fan to produce suction for dust collection. As of this week we have a preliminary design for a fan which will be powered by a brushless DC motor; up next is to 3D-print the fan components and test it.

A 3D CAD render of our custom blower fan design.
Staying Sharp
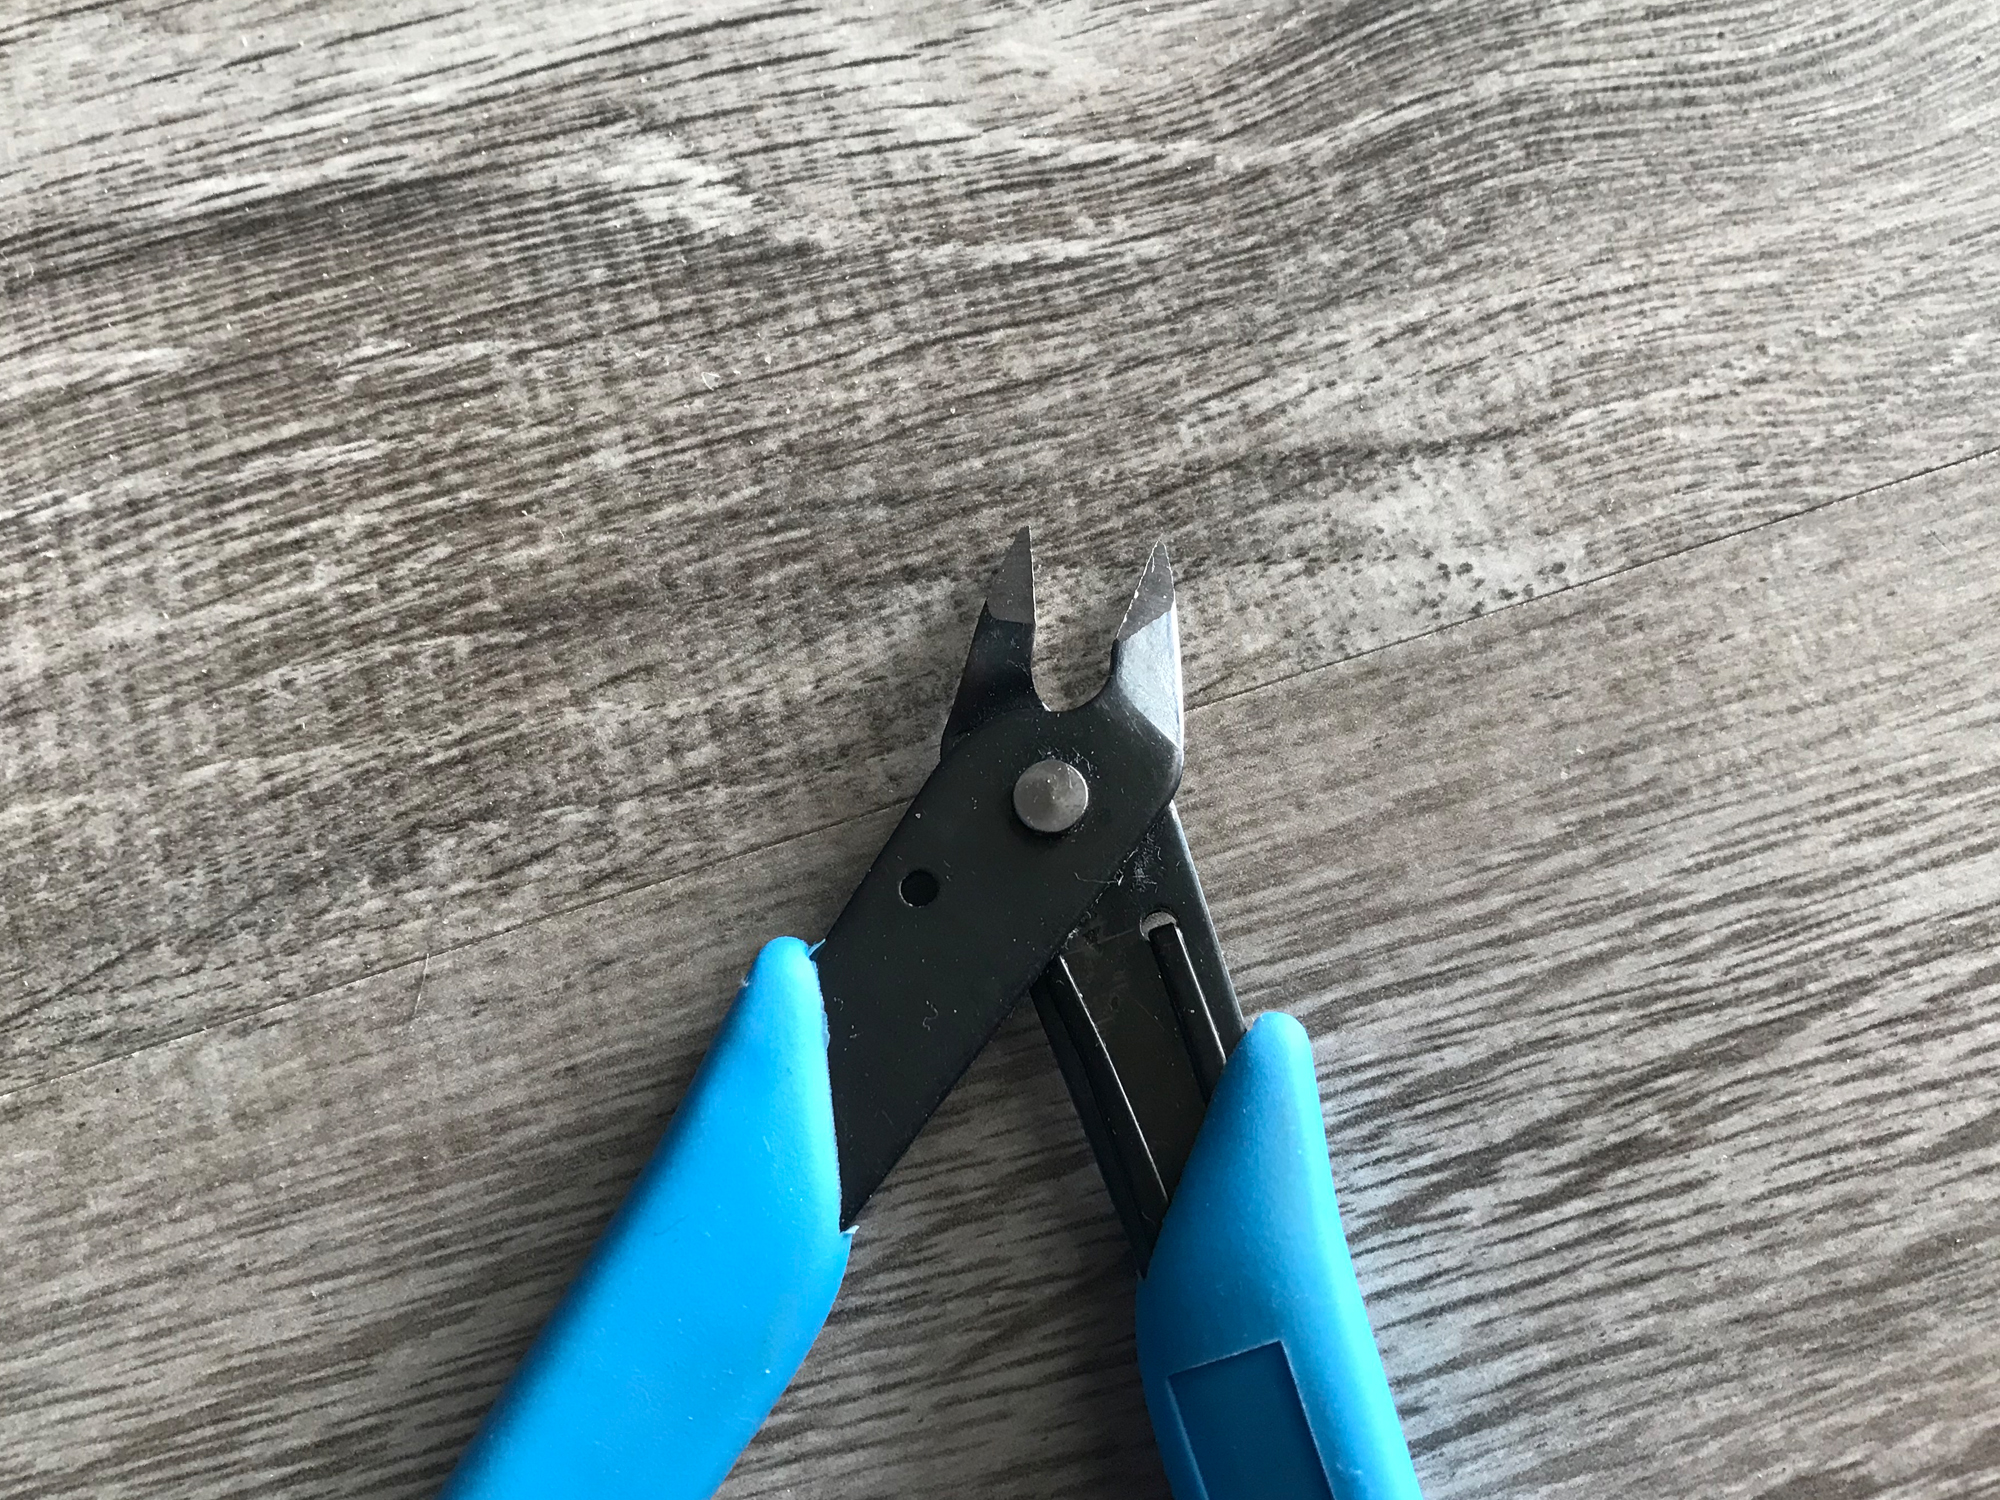
In testing our machine, we realized that the via wire cutter’s blades were beginning to dull, leading to wire being bent instead of cut. For us, the simplest solution was to purchase a new cutter; while the last cutter was a generic 170-type wire cutter, our new cutter is a Weller branded model which we hope will have more longevity.

The cutting edges of our previous wire cutter, with signs of wear and tear.
Mechanical Next Steps
With the critical systems built, our immediate mechanical priority is again focusing on dust management and the enclosure.
As always, if a mechanical concern arises in our testing, that will become our top priority.
Software/Firmware Updates
Over the last week:
- The computer vision program was moved from a laptop to the raspberry pi in the machine.
Moving Software onto the Machine
The source code was transferred onto the raspberry pi. After running the program for the first time there were some errors because the raspberry pi did not have X11 installed. The X11 software is used by the operating system to show windows on the screen, which up until this point was not required. So, when the computer vision program tried to create a window to show the video or the controls it crashed. After installing X11 the error was fixed. To interact with the raspberry pi we ssh into it because we cannot connect a screen, mouse and keyboard to it as it is inside the machine. This was a problem because even though the windows are displayed, they cannot be seen on the connecting computer because by default ssh only lets you access the terminal. Fortunately, there is a feature with X11 where you can forward windows over ssh and have them appear on the connecting computer. After installing a few libraries and a small change to the ssh configuration settings the windows created by the computer vision program could be seen on an external computer connected over shh to the machine. However, the video displayed had a very low frame rate and the controls took over 10 seconds to respond when moving the sliders. This is a problem because these screens were made so that it would be fast and easy to debug and tune the computer vision software. Normally this is not a problem as ssh only needs to send and receive text and keep the connection secure, but in this case we needed to send 5 video streams, the control window and text through the connection. So, to increase the responsiveness of the program all the windows were compressed and then sent over ssh. This dramatically increased the speed of the program to a point where it was usable. It still has about 2 seconds of latency but that is much better than the 10+ seconds from earlier. There are more ways to reduce the latency of this process, but this was usable, and our time is better spent on developing the actual program and not the debugging processes.
Software Next Steps
Next the program will be tested on the raspberry pi. Hopefully it should function the same as when it was run on a laptop but there could be some unforeseen issues that pop up. Once the functionality is fully tested then we can begin integrating the computer vision into the control software of the machine and start testing the whole firmware and software system.
